If you’re a new Q Link Wireless customer and need assistance with inserting your SIM card, follow these easy steps to begin using your FREE Cell Phone Service.
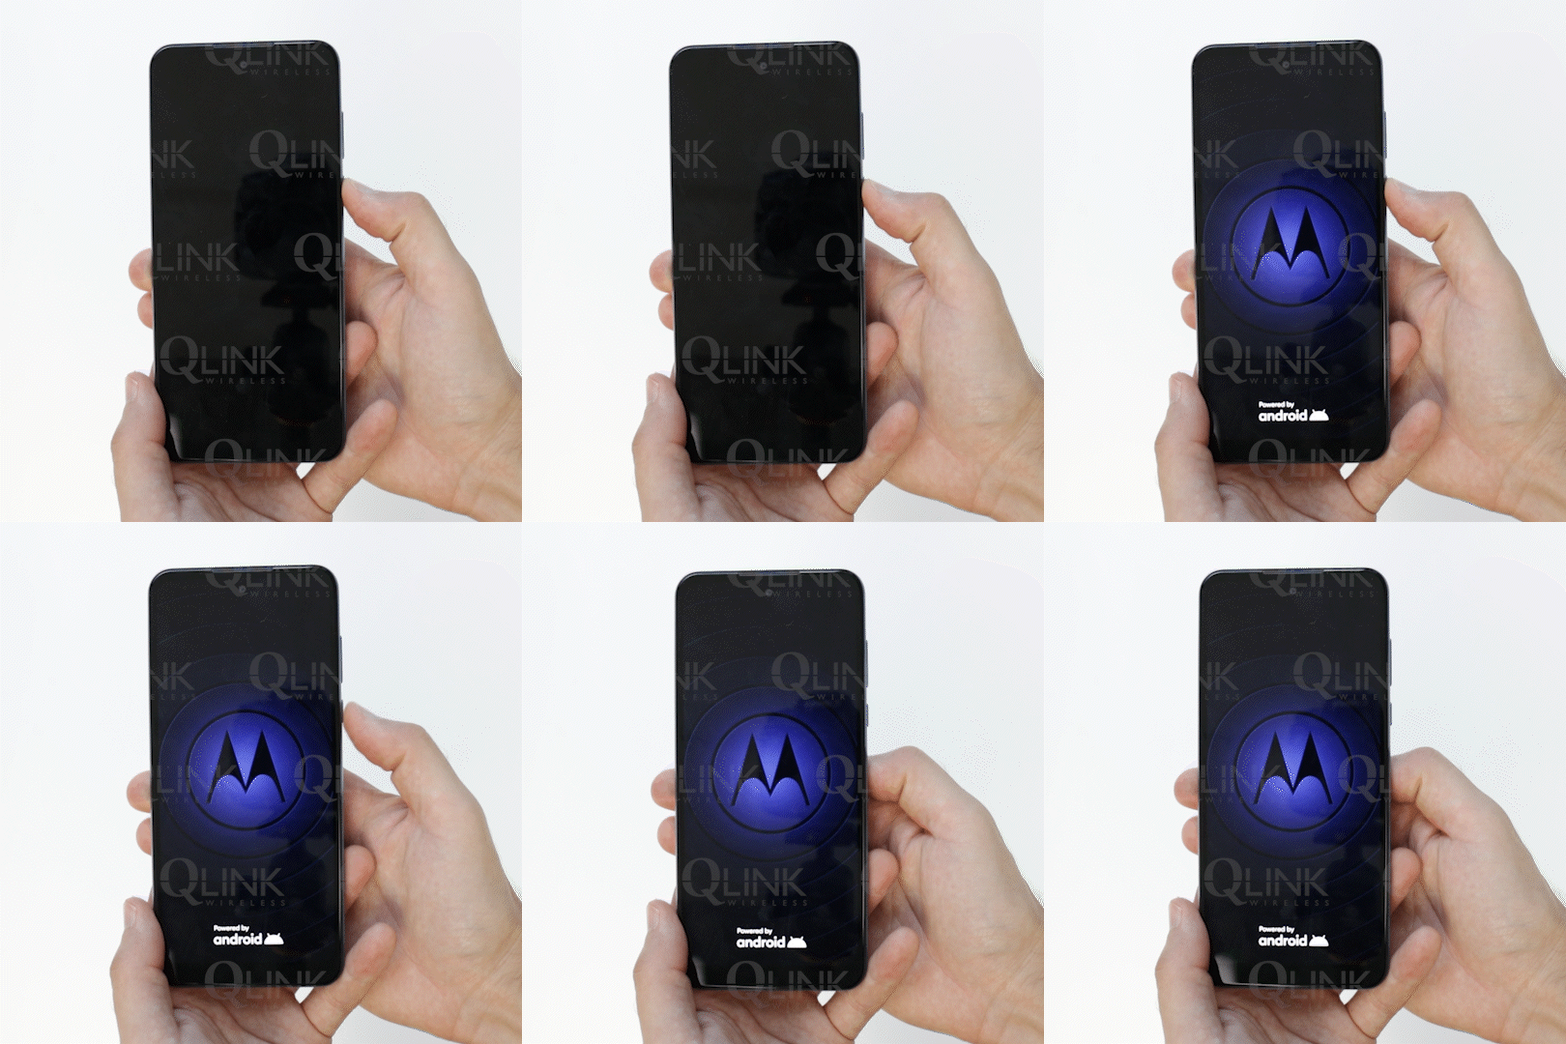
Step 1: Turn on your phone
Make sure your Moto G is turned on.
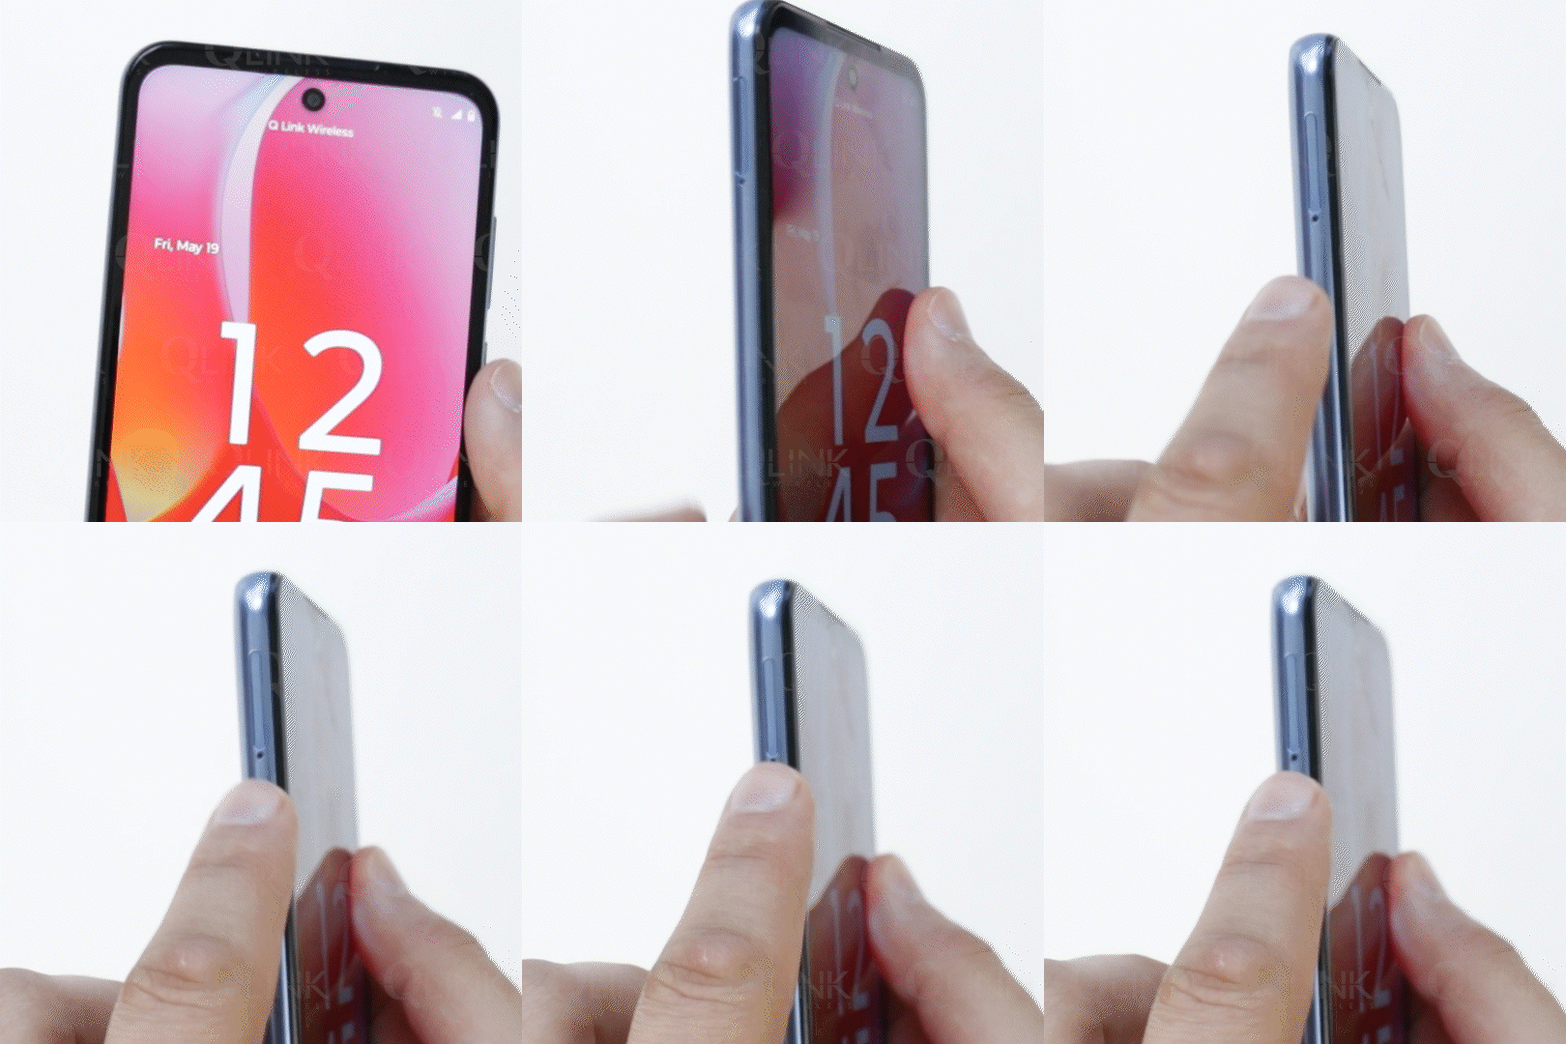
Step 2: Locate the SIM card slot
Locate the SIM card tray on your Moto G. It is usually positioned on the side of the phone.
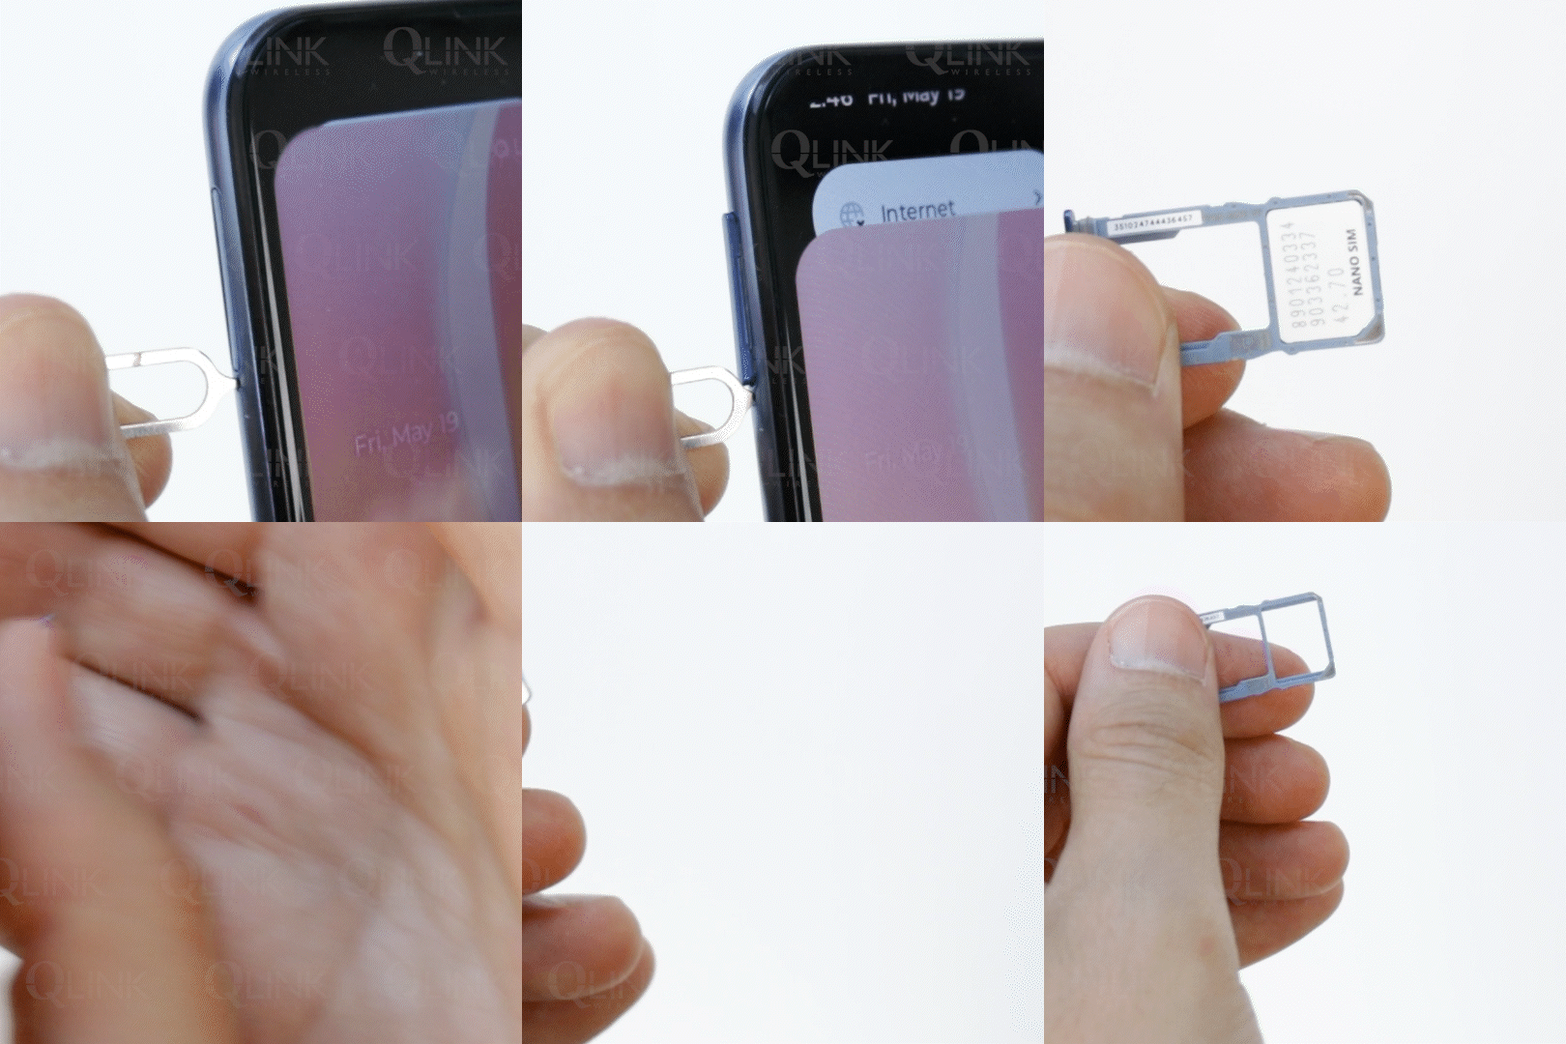
Step 3: Remove old SIM card (if applicable)
Use a SIM card ejector tool or a small paperclip to gently insert it into the small hole next to the tray. Apply a bit of pressure to pop open the tray.
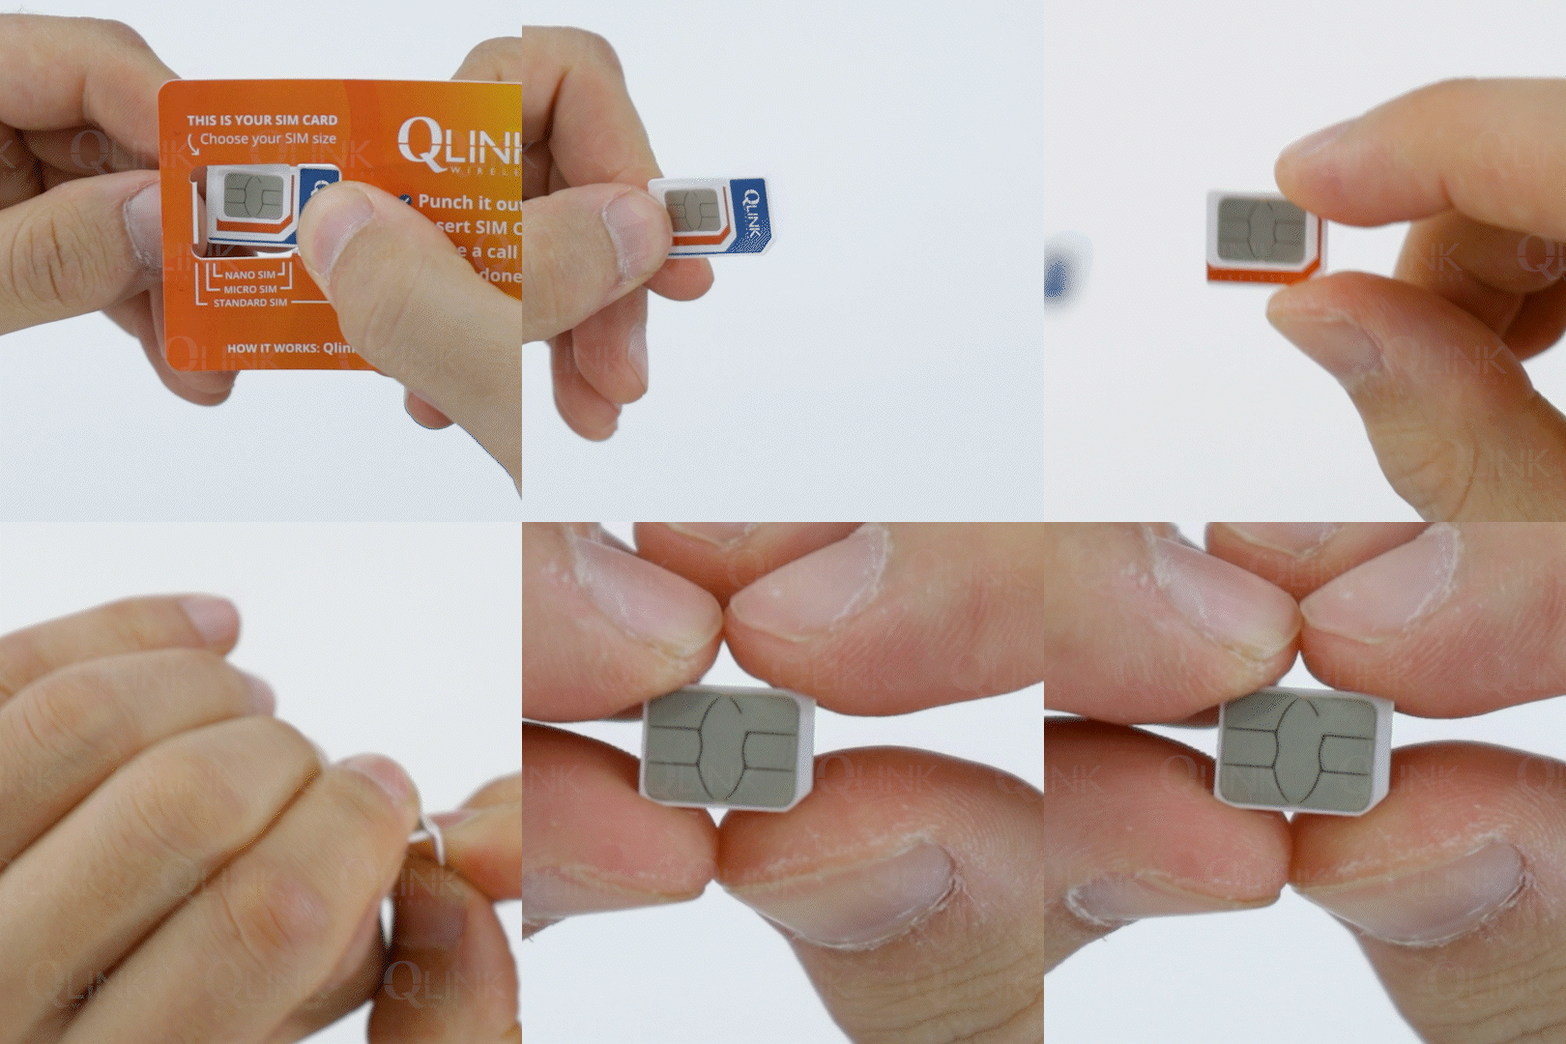
Step 4: Choose the right SIM card size
Select the smallest SIM card size from the SIM card kit.
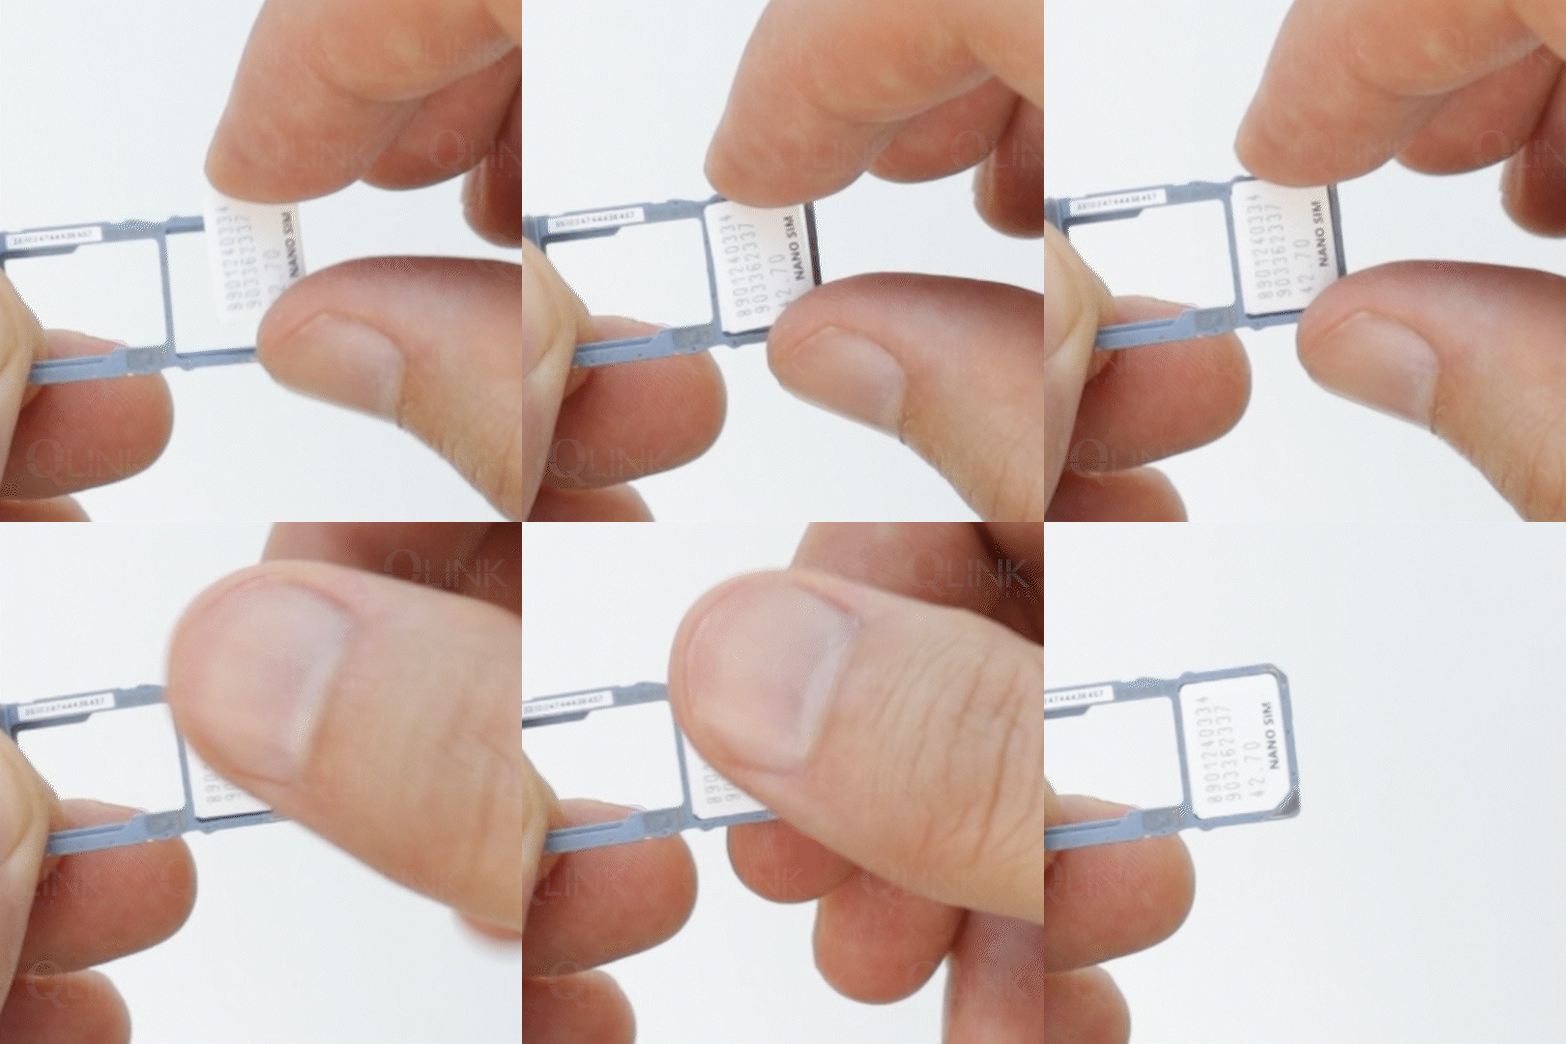
Step 5: Place your SIM card on the SIM card tray
Take your SIM card and ensure that the gold contacts are facing down. Align the notched corner of the SIM card with the corresponding notch on the tray.
Carefully place the SIM card onto the tray, making sure it fits securely within the designated area.
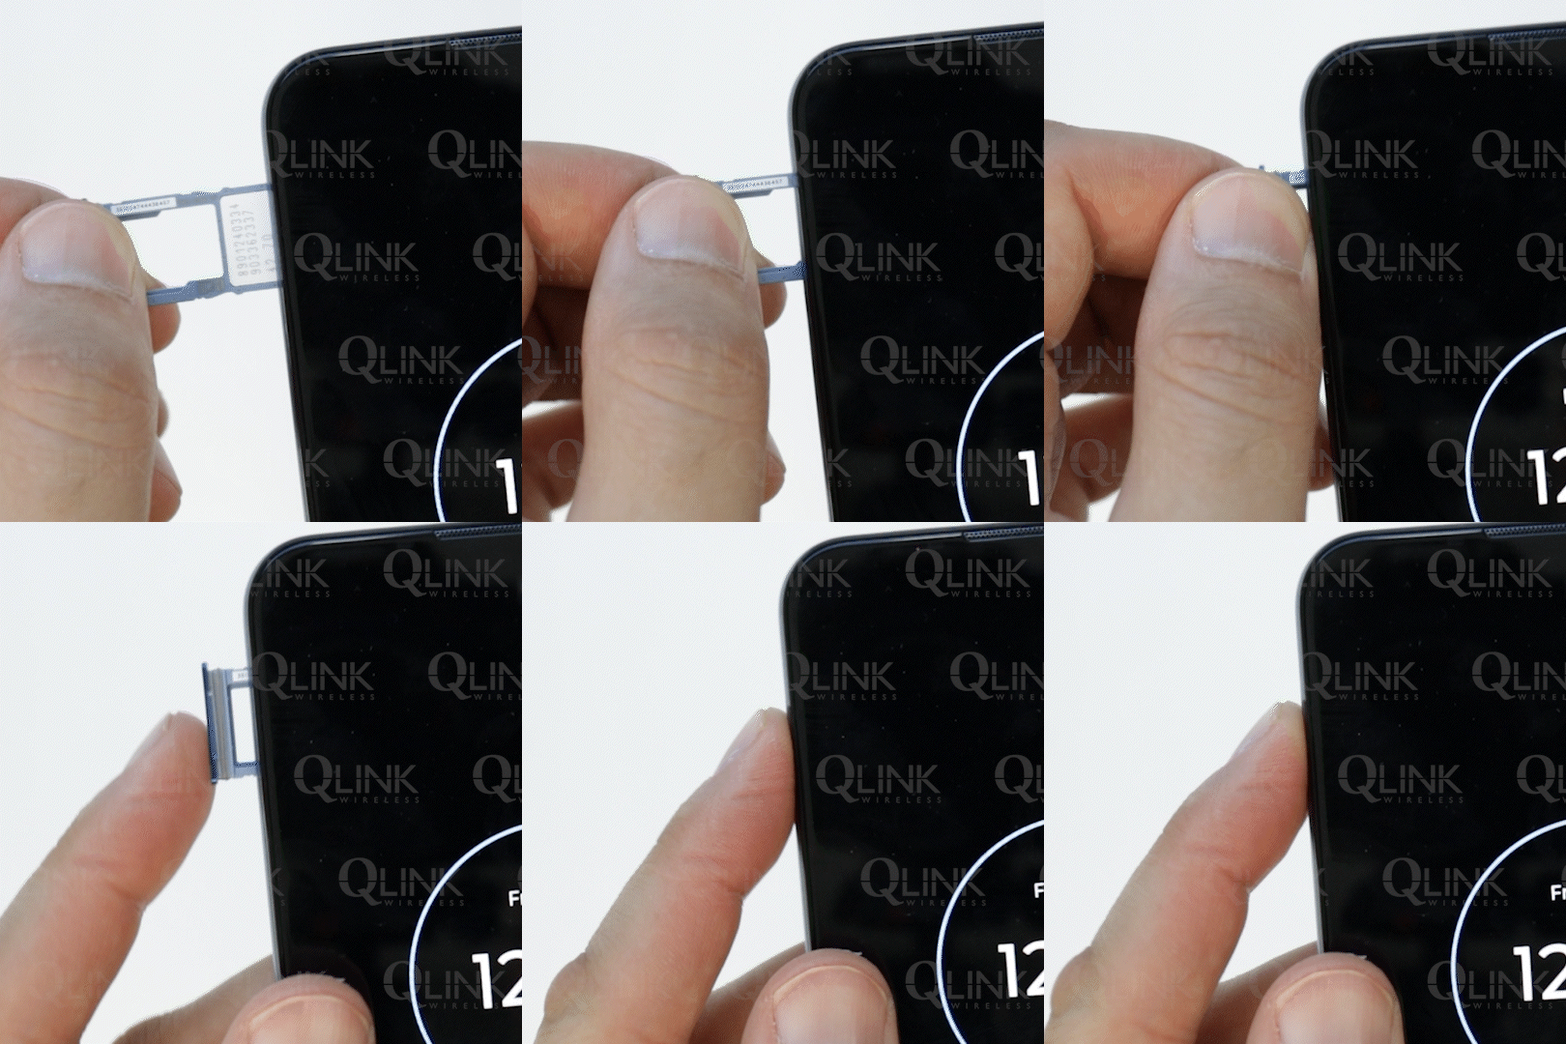
Step 6: Gently push the tray back
Once the SIM card is properly positioned, gently push the tray back into the phone until it is fully inserted. You should feel a slight click when it locks into place.
Ensure the tray is flush with the phone’s surface and that there are no gaps or misalignments.
Still Having Issues?
If you encounter any issues or have any further questions, please contact Q Link Wireless Tech Support for assistance.
Want to Upgrade?
If you’re thinking of upgrading your phone and want to score some deals, check out Q Link Wireless’ Shop Phones section.
We offer a variety of smartphones. Browse our selection today and find the perfect phone for you.
